Deeply integrated AI and PDF Publishing tool for Joplin: chat, rewriting, research and grammar tools that work directly with your notes (send prompts with note context, insert/append/replace results). Sophisticated PDF publishing workflow to turn notes into beautiful documents—per-note front matter settings, title pages, headers/footers, pagination, and reliable print preview (including attachment images).
| Links: | |
|---|---|
| Maintainers: | irvshapiro |
| Version: | 1.2.0 |
| Minimum app version: | 3.4 |
| Downloads: This version: | 665 |
| Last updated: | 2026-03-13T19:05:23Z |
The Joplin AI Writing Toolkit is a comprehensive plugin tailored for writers, researchers, and knowledge workers who rely on Joplin for drafting, organizing, and managing notes. This toolkit seamlessly integrates advanced AI features—such as interactive chat with ChatGPT, grammar and style checking, and automated content expansion—directly into your Joplin workflow. With these tools, you can brainstorm ideas, get instant feedback on your writing, transform notes into prompts, and improve drafts without leaving the app.
Beyond AI assistance, the toolkit offers robust PDF publishing capabilities. Easily export your notes as professionally formatted PDFs complete with customizable title pages, headers, footers, and layout options. All PDF formatting settings are defined, stored, and managed within your notes using YAML Front Matter, ensuring that each document retains its specific design preferences.
In summary, the Joplin AI Writing Toolkit transforms Joplin from just a note taking tool into a powerful platform for writing, editing, organizing, and preparing professional PDF documents—all within one seamless environment.
1.2.0: Version bump.
1.1.0: Enhanced PDF publishing with syntax-colored code blocks in PDF output, and adjusted code indentation for better readability.
1.0.1: Initial release of the AI Writing Toolkit + PDF Publishing plugin.
Shortcut: Ctrl+Shift+3 (or Cmd+Shift+3 on macOS)
Inserts:
```note
Configure how your documents will be formatted when printed or saved as PDF. All settings are stored in YAML Front Matter at the top of your notes, allowing you to customize each document individually:
 render correctly in the PDF preview/print outputSee the PDF Publishing section below for detailed instructions.
Tools > Cogitations Plugins:
Ctrl+Shift+P (or Cmd+Shift+P) and search for “AI Writing Toolkit” or “PDF Publishing”.The Chat Panel includes a set of quick-action buttons to streamline your workflow:
| Button | Action | Description |
|---|---|---|
| 📝 Append | Append to Note | Appends the AI's last response to the end of your current note. |
| 🔄 Replace | Replace Note | Replaces the entire content of your current note with the AI's last response. |
| 📍 Insert | Insert at Cursor | Inserts the AI's last response at your current cursor position in the editor. |
| 📄 New Note | Create New Note | Creates a brand new note containing the AI's last response. |
| 📋 Note→Prompt | Note to Prompt | Copies the full content of your current note into the chat input field. |
| ✂️ Selected→Prompt | Selected to Prompt | Copies only the currently selected text into the chat input field. |
| ✅ Grammar | Check Grammar | Checks the selected text in your note for grammar and style issues. |
| ℹ️ Help | Help | Displays information about the plugin and its features. |
| Command | Description | Shortcut |
|---|---|---|
| Toggle AI Writing Toolkit | Opens/Closes the AI Chat Panel. | Ctrl+Shift+P -> Search "Toggle" |
| Grammar Check | Checks selected text for grammar/style issues (via Chat Panel button). | Select text -> Click ✅ Grammar |
| Insert Note Block | Inserts a note code block. |
Ctrl+Shift+3 / Cmd+Shift+3 |
| Open System Prompt | Edit the AI's instructions. | Command Palette -> "Open System Prompt File" |
| PDF Publishing | Configure PDF publishing settings & preview/print. | Tools > Cogitations Plugins > PDF Publishing |
The PDF Publishing panel allows you to configure how your notes will be formatted when printed or saved as PDF. All settings are stored as YAML Front Matter at the top of your notes, making it easy to customize each document individually.
Tools > Cogitations Plugins > PDF PublishingCtrl+Shift+P (or Cmd+Shift+P) and search “PDF Publishing”Front Matter is a YAML block placed at the very beginning of your note, wrapped between --- markers. The plugin uses this block to store PDF publishing configuration.
Example:
---
title: My Document Title
subtitle: A compelling subtitle
author: Your Name
date: 2024-01-15
logo: https://example.com/logo.png
page_size: Letter
margin: 2.5
header: Document Header Text
footer: Document Footer Text
show_page_numbers: true
include_title_page: true
center_title_page_content: false
---

Your note content starts here...
Two-Way Sync: Changes made in the PDF Publishing panel automatically update the Front Matter in your note, and vice versa. This means you can:
Automatic Updates: When you change a field in the PDF Publishing panel, the Front Matter in your current note is updated after a brief delay (debounced to avoid excessive updates).
Note-Specific Settings: Each note can have its own Front Matter, so different documents can have different formatting settings.
Default Values: If a setting is not specified in Front Matter, the panel will use sensible defaults:
The panel includes three main sections:
:/resourceId, or a note id (uses the first embedded image from that note)| Button | Action | Description |
|---|---|---|
| Refresh from Note | Reloads settings | Reloads all settings from the current note's Front Matter. Use this if you've edited Front Matter directly in your note. |
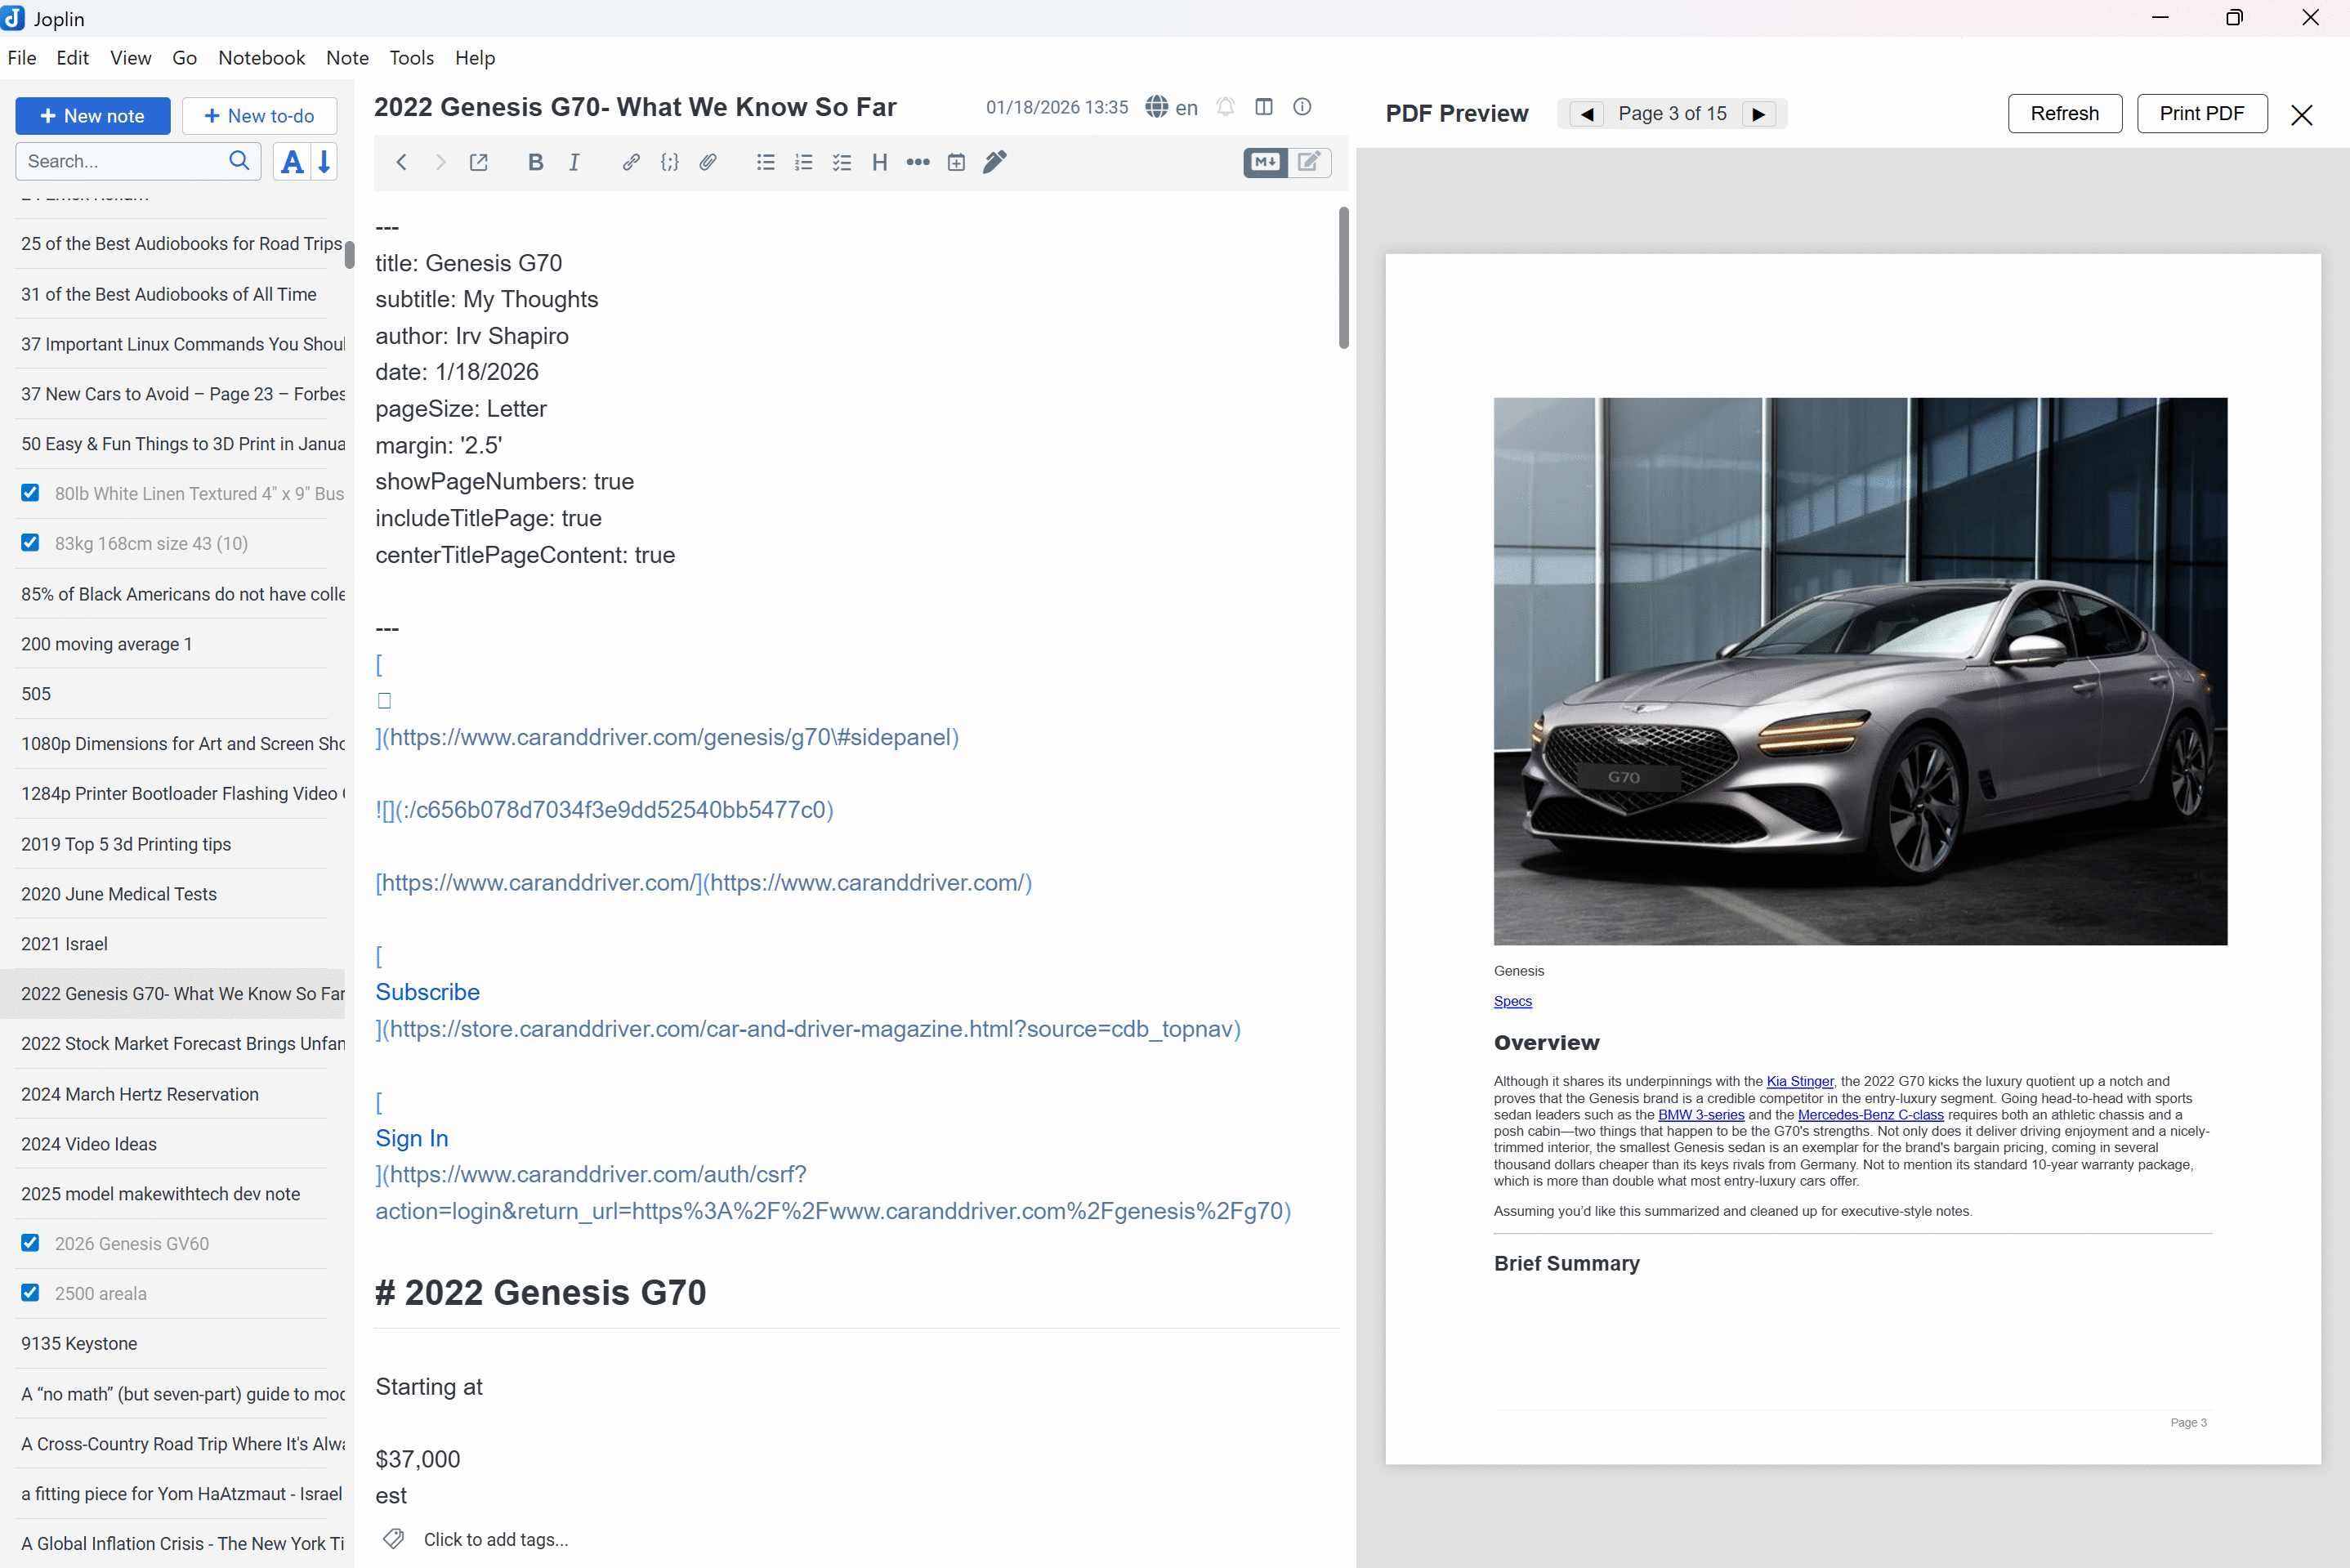
| Generate Preview | Preview Document | Generates a live, paginated preview of how your document will look when printed or saved as a PDF. |
The AI Writing Toolkit uses a custom fragmentation engine to ensure your notes are properly paginated for PDF output.
You can force a new page at any point in your document by adding the following marker on its own line:
---page-break---
 are automatically resolved in the preview so they render correctly when printing/saving as PDF.Edit in the Panel: For most users, editing settings in the PDF Publishing panel is recommended, as it provides a user-friendly interface and ensures valid YAML syntax.
Edit Front Matter Directly: Advanced users can edit Front Matter directly in their notes. Remember to:
: after keys, proper indentation)--- markers at the beginning and endConsistent Formatting: If you want consistent settings across multiple notes, consider:
git clone https://github.com/ishapiro/joplin-ai-writing-tools.git
cd joplin-ai-writing-tools  # (or whatever folder name you cloned into)
npm install
npm run dist
publish/ directory containing the compiled .jpl file.publish/com.cogitations.ai-writing-toolkit.jpl file you just built.We welcome contributions!
git checkout -b feature/AmazingFeature).git commit -m 'Add some AmazingFeature').git push origin feature/AmazingFeature).Created by Irv Shapiro
During development of the PDF preview system, we discovered that printing from an Electron-based webview can be finicky across repeated prints.
The Problem:
In many Electron environments, calling window.print() works perfectly the first time, but subsequent calls often fail to open the print dialog. This is due to Chromium's print preview process occasionally failing to release its lock on the renderer process after the dialog is closed.
The Solution: We use a two-part strategy:
window.print(), the preview temporarily shows all pages so the print output contains the full document.onafterprint and then return from the preview back to the PDF Publishing settings panel. That transition rebuilds the panel DOM, which helps keep repeat printing stable.This approach allows our PDF Publishing tool to provide a consistent, multi-print experience without requiring access to Electron's restricted Main Process APIs.